
Digging and Storing Dahlias
A Simple Guide for Gorgeous Blooms Next Year
It's that time of year, and with so many of you asking questions about what to do with these tubers you got from me, I thought you might enjoy a little guide to dig and store them. In this blog post, I will walk you through the easy steps to dig and store dahlias, ensuring they come back even more spectacular next season.
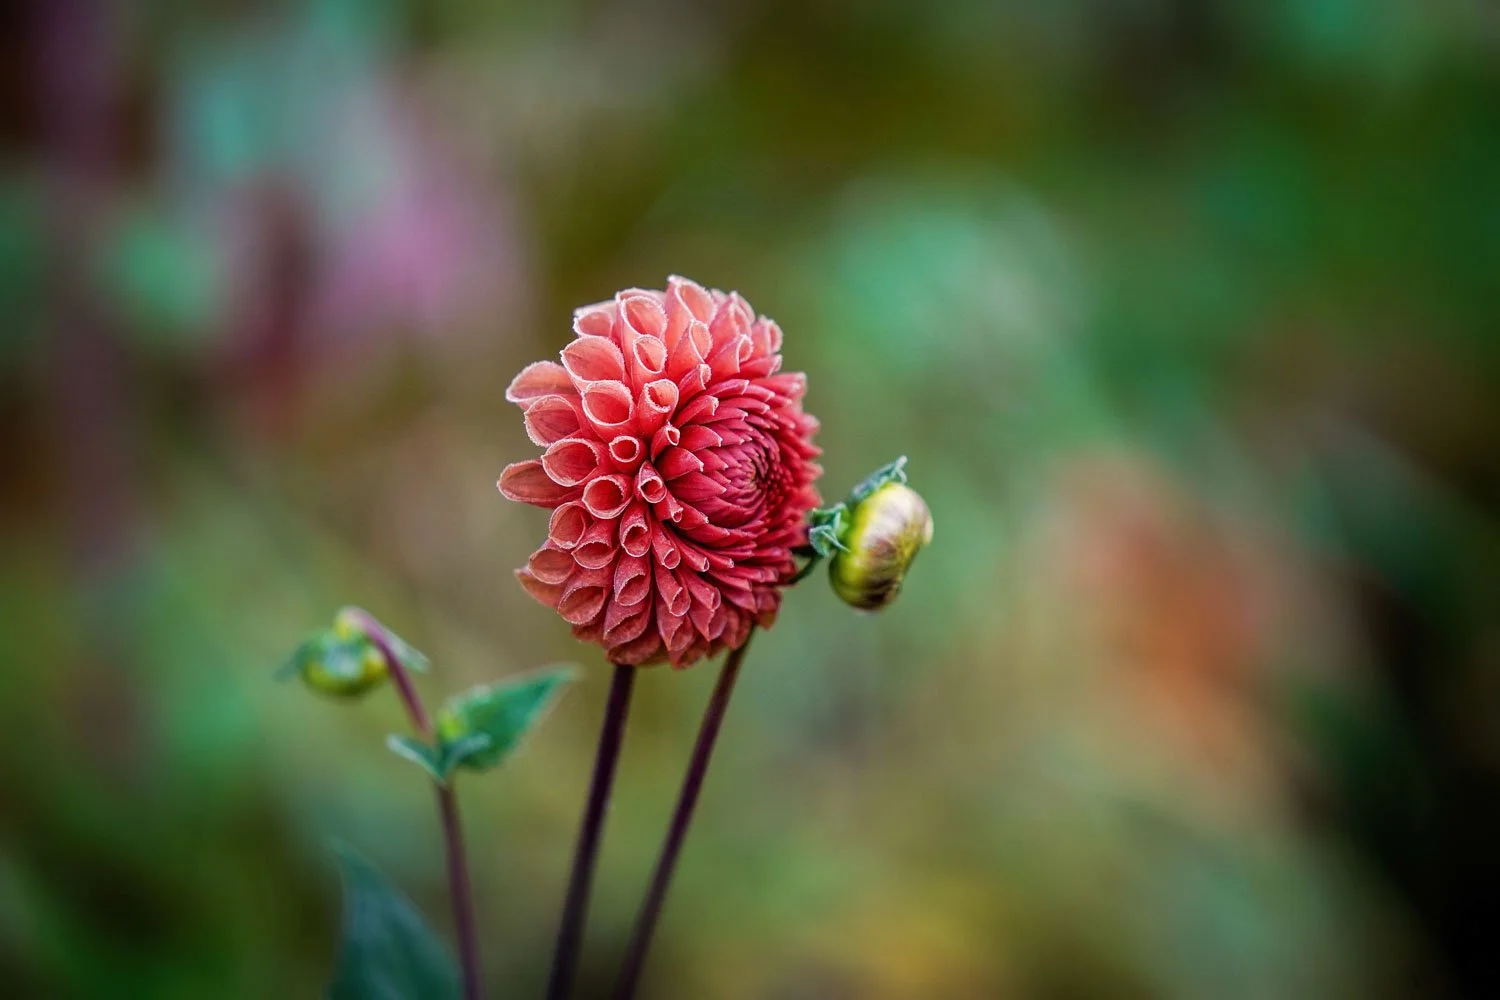
When the frost hits, its time to dig your Dahlias!
Timing Matters
The first thing to remember is timing. Wait until the first frost has blackened the foliage and killed off the upper parts of the plants. You want to give your dahlias enough time to store energy for their winter slumber, so alternately, 120 days in the ground will work if you are not seeing a frost and are ready to button things up.
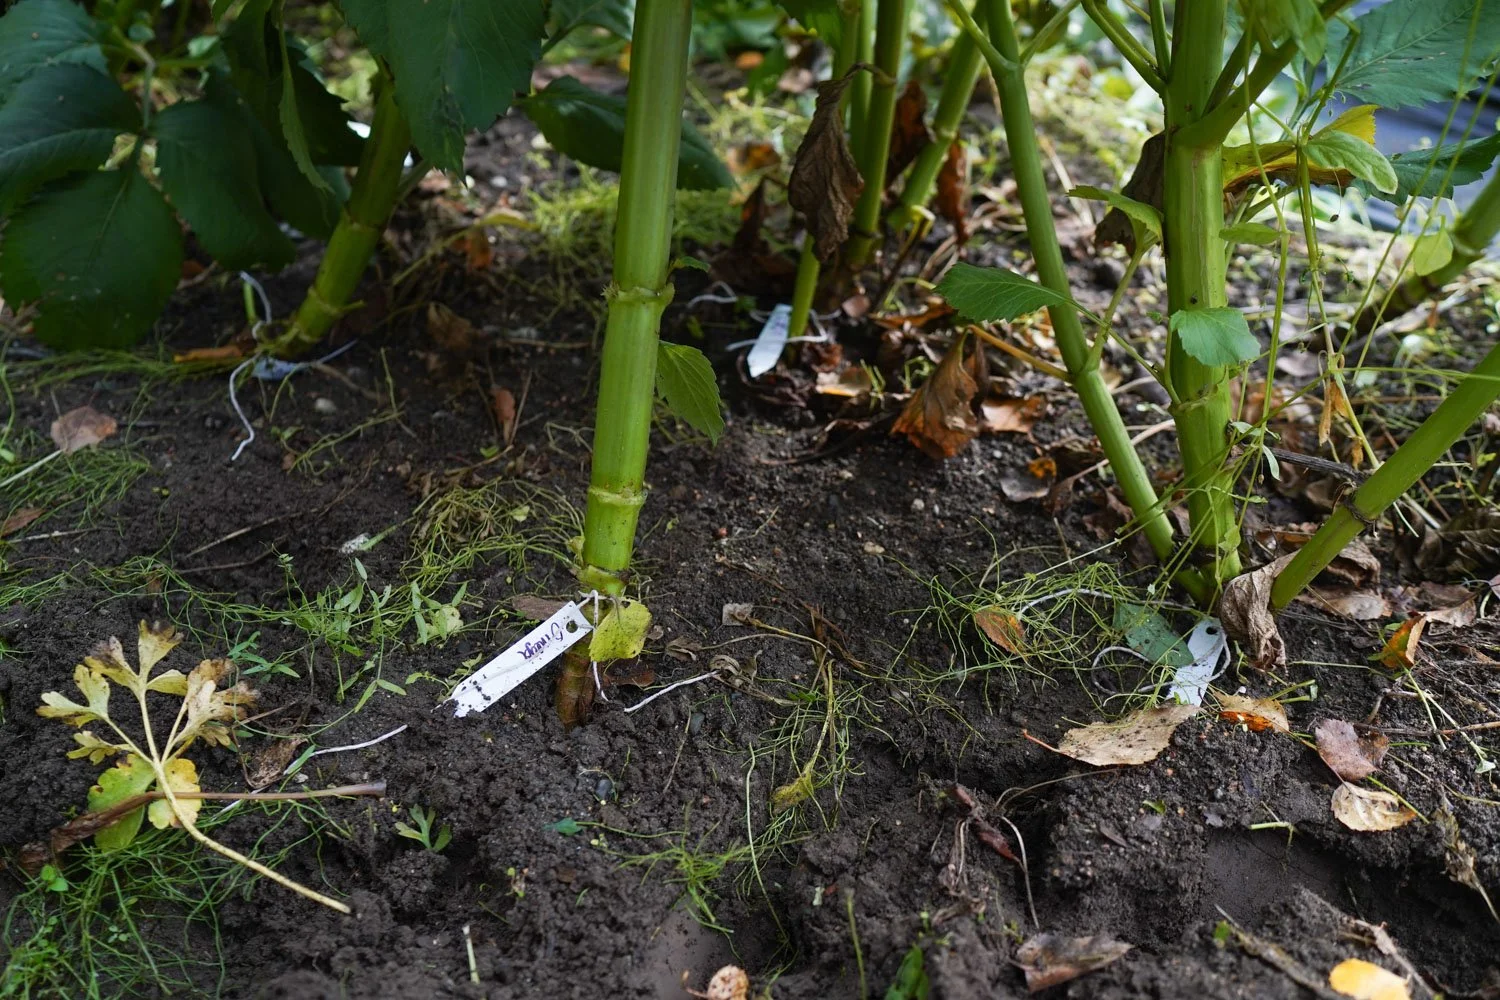
We find it helpful to label before we dig so we don’t mix anything up.
Gather Your Tools
Before you get started, make sure you have the right tools on hand:
A garden fork or spade shovel
Pruners or shears
A bucket or container
Labels and a marker
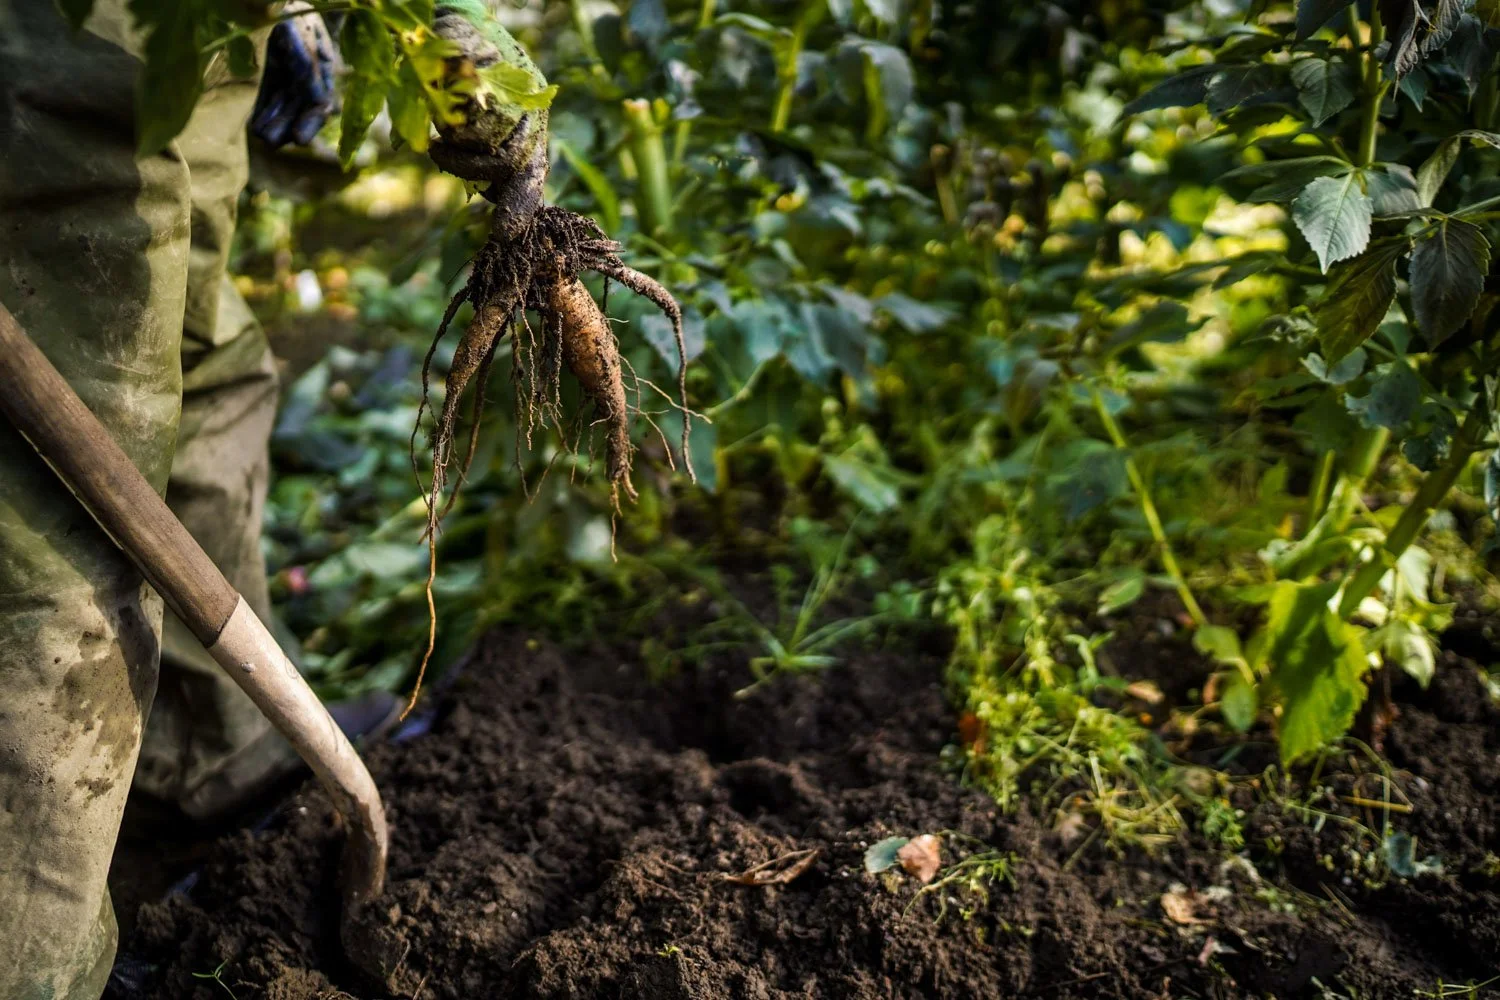
Carefully Dig Them Up
Now, it's time to dig up your dahlias:
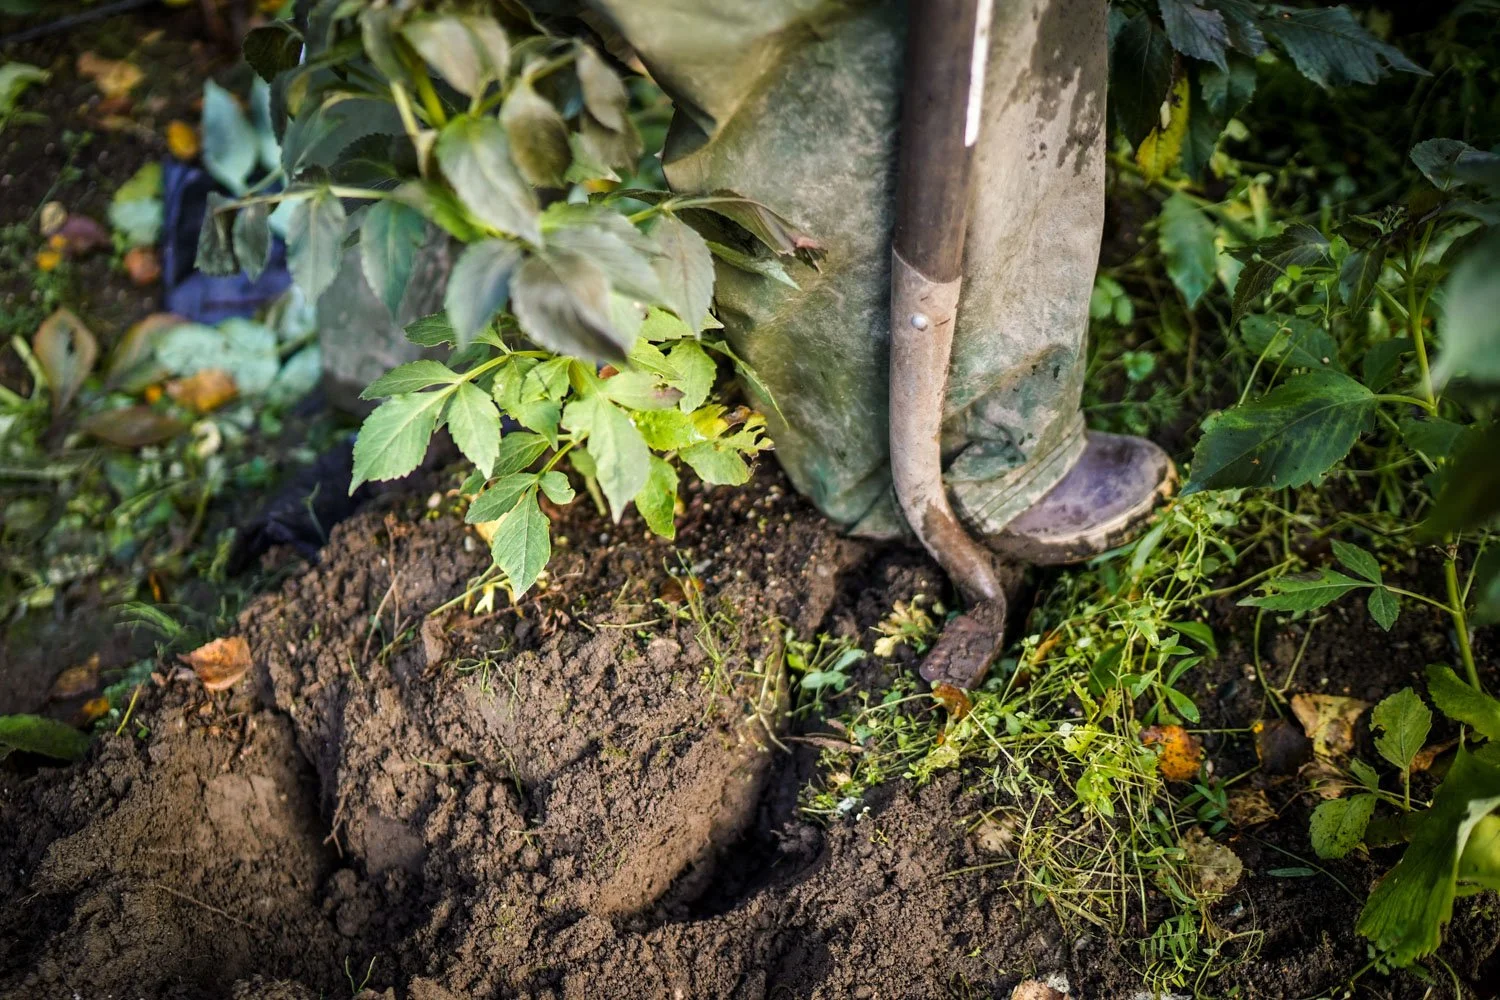
Dig wide to not hurt your new tubers underground!
Start by cutting back the dead foliage about 6 inches above the ground.
Using your garden fork or spade, carefully dig around the dahlia clump, working wide to not damage the tubers.
Gently lift the clump out of the ground, shaking off excess soil.
Clean and Trim
Once you have your dahlia clump out of the ground, it's time to clean and trim:
Remove any remaining soil by gently shaking or lightly hosing off the tubers. Be careful not to damage them.
Rinse off with the jet setting on your water wand.
Inspect the tubers for any signs of disease or damage. I would toss the clumps in your burn pile if you find anything suspicious.
Trim the remaining stems to about 1-2 inches above the tubers.
Dahlia Clump
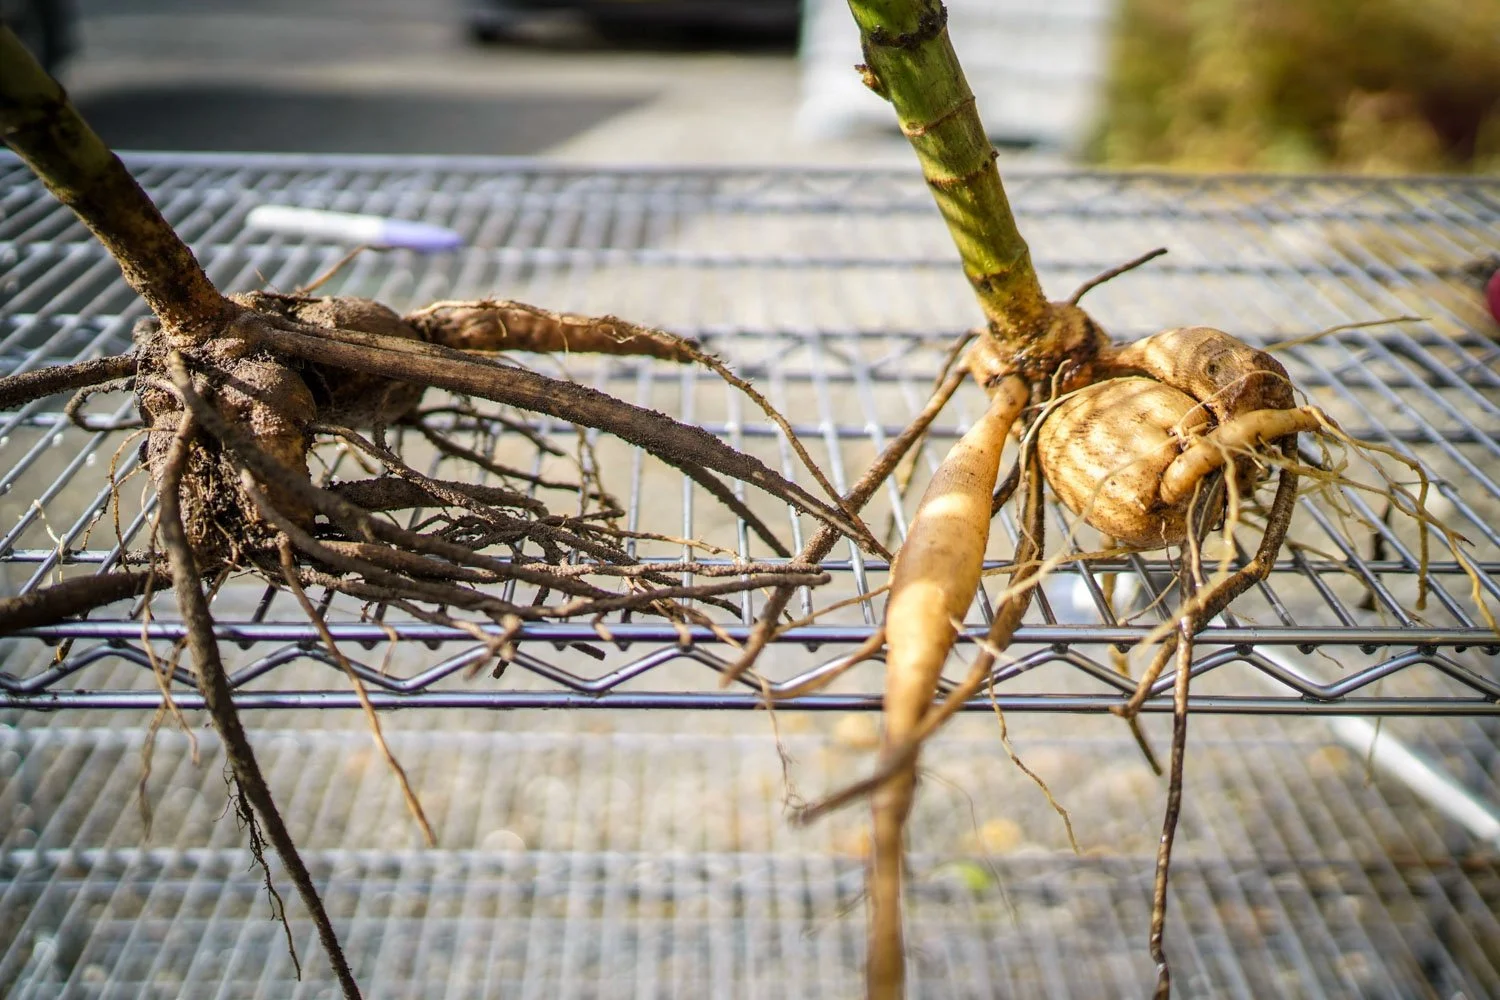
Dirty VS Clean Tubers
Label Your Tubers
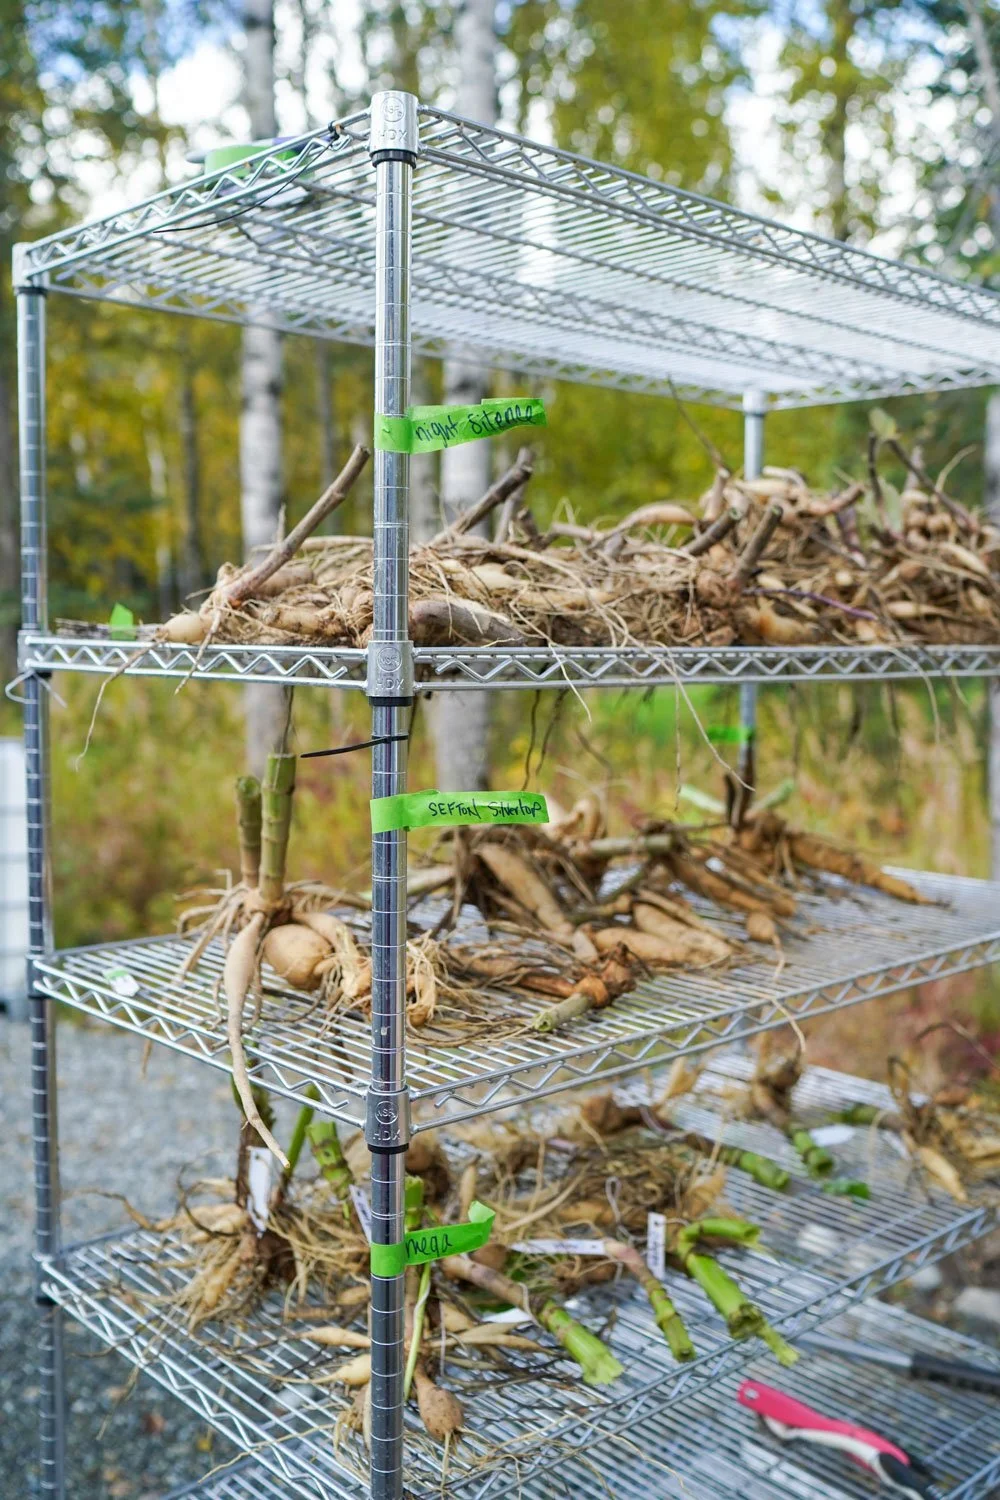
Redundant tagging helps keep things identified!
Labeling your dahlias is crucial so you know what you're planting next year. Use your permanent marker to write the variety name on a label and attach it to the tuber. You can use flagger tape, tags or alternatively, you can write directly on the tuber! We like to tag everything multiple times so we don’t mix things up. Were dealing with hundreds at a time though and once you loose a tag all tubers look the same!
Dry Them Out
Allow your tubers to air dry for at least 24 hours. This helps prevent rot during storage and gives any wounds from the shovel or snips time to heal.
Store in a Cool, Dark Place
Now it's time to store your dahlias for the winter:
Fill a container with dry peat moss, vermiculite, or wood shavings.
Place your tubers in the container, ensuring they don't touch each other. (you can use a cardboard box, totes, or burlap bags.)
Cover the tubers with the chosen medium.
Store the container in a cool, dark, and dry place with a temperature between 42-55°F. A basement or garage might work well.
Check every month for signs of rot or drying out, or growth.
Every house has a different moisture level, so feel free to test methods and find out what works for you or snag a handy meter online to monitor moisture and temp levels in any location.
And that's it, folks! With these simple steps, you can dig up and store your dahlias, for a stunning display of blooms next year. Happy gardening, and may your dahlias keep producing for you each year!